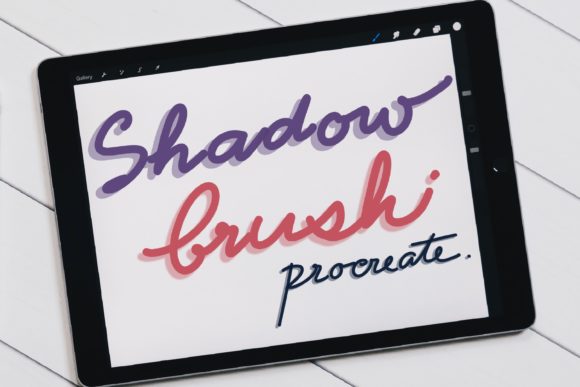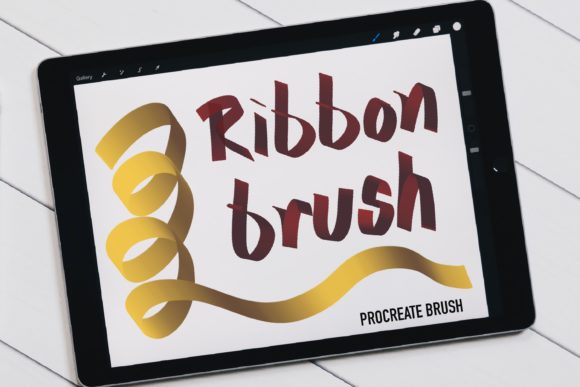
Mastering Dimensional Lettering with Ribbon Brushes for Procreate
The evolution of digital illustration has fundamentally changed how artists approach hand lettering and calligraphy. In the past, achieving the illusion of three-dimensional ribbons weaving through text required complex layering, meticulous masking, and hours of shading work in desktop software. Today, the workflow is streamlined significantly through specialized tools designed specifically for the iPad ecosystem. Among these tools, Ribbon Brushes for Procreate stand out as a transformative asset for creators who wish to produce professional-grade typographic art with efficiency and precision. These digital instruments are not merely shortcuts; they are sophisticated simulations of physical media that respond to pressure, tilt, and speed, allowing for a natural drawing experience that mimics traditional ink and brush behaviors.
The Mechanics of Digital Ribbons
Understanding how these brushes function is essential for maximizing their potential. Unlike standard round brushes that lay down uniform color, ribbon brushes are engineered with specific grain and shape dynamics to create the appearance of folded fabric or paper. When you utilize Ribbon Brushes for Procreate, the software interprets your Apple Pencil input to generate varying widths and opacities within a single stroke. This capability is crucial for creating the "light and shadow" effects that give ribbon lettering its depth. The brush engine calculates the pressure applied—your hand weight—and adjusts the stroke accordingly. A lighter touch might render the highlight of a fold, while increased pressure darkens the shadowed areas where the ribbon turns away from the light source.
The magic lies in the continuity of the stroke. Because these brushes are designed to simulate a continuous strip of material, the algorithm works best when the user maintains a fluid motion. If you lift your pencil and start another stroke immediately adjacent to the first, you may notice intertwined lines or abrupt breaks in the texture that disrupt the illusion of a single, flowing ribbon. For the perfect job, it is highly recommended to try not to lift up your pencil between strokes whenever possible. This technique ensures that the tapering at the ends of the ribbon and the curvature of the folds remain seamless. Mastery of this tool requires a shift in mindset from "drawing shapes" to "tracing paths," where the confidence of your hand movement directly translates to the quality of the final render.
Workflow Integration and Installation
Integrating these tools into your creative process begins with proper setup. Since this is a digital product, no physical item will be shipped to you. Instead, the value is delivered entirely through file transfer. Upon purchase payment confirmation, you will receive an email containing a secure download link. The file you will receive is a single .brushset file, which is the native format for Procreate brush libraries. This consolidation simplifies organization, keeping all your ribbon variations in one accessible folder within the app.
To install the brushes, open the Procreate app on your iPad Pro. Navigate to the Brush Library, tap the plus symbol (➕) at the top right of any brush set list, and select "Import." Locate the downloaded .brushset file from your files app, and the entire collection will instantly populate your library. It is critical to note that these digital brushes will only work in the Procreate App for iPad Pro with the Apple Pencil. They are coded specifically for Procreate's rendering engine and will not function in Photoshop, Illustrator, or any other software applications. Furthermore, compatibility is tied to the software version; you will need to update your Procreate to the latest version, specifically Procreate 5 or newer, in order for this brush to work correctly. Older versions lack the specific stroke stabilization and grain rendering capabilities required to display the ribbon effects accurately.
Applications in Hand Lettering and Illustration
The primary use case for these brushes is, naturally, hand lettering. Designers creating logos, wedding invitations, and social media graphics often rely on the aesthetic of flowing ribbons to add elegance and movement to their compositions. With Ribbon Brushes for Procreate, an artist can sketch a word and simultaneously apply the dimensional folding effect, reducing the time spent on post-processing shadows. This is particularly advantageous for professionals working under tight deadlines who cannot afford to spend hours manually painting highlights and core shadows.
Beyond typography, these brushes are incredibly versatile for general illustration projects. They can be used to draw actual fabric elements in character design, such as scarves, sashes, or flowing capes. The ability to control light and shadow through pressure sensitivity allows illustrators to suggest volume without heavy rendering. For example, a concept artist sketching a costume can quickly block in the drape of a silk ribbon using these tools, establishing the form and lighting direction before moving on to finer details. Educators teaching digital art fundamentals also find these brushes valuable for demonstrating principles of form and light, as the brush itself provides immediate visual feedback on how pressure affects perceived depth.
Commercial Viability and Licensing Considerations
For business owners and freelance creators, understanding the licensing terms of digital assets is as important as mastering the tool itself. The files provided with these brushes can generally be used to make products and sell commercially. This means that artwork you create using Ribbon Brushes for Procreate—such as printed t-shirts, digital stickers, greeting cards, or commissioned logo designs—is yours to monetize. You retain ownership of the final artistic output.
However, there are strict boundaries regarding the distribution of the tool itself. You are not allowed to resell, share, or distribute the .brushset file. The license grants you the right to use the brush for creation, not to act as a distributor of the software asset. Attempting to upload the brush file to third-party marketplaces or sharing it freely violates the intellectual property rights of the creator. This distinction protects the ecosystem of digital tool makers, ensuring they can continue to develop high-quality resources for the community. Always review the specific license agreement included in your download email to ensure full compliance, as terms can vary slightly between different creators.
Optimizing Performance and Technique
To get the most out of these brushes, hardware and settings play a pivotal role. While the brushes are optimized for the iPad Pro, the condition of your Apple Pencil tip and your screen protector can influence the friction and feel of the stroke. Many artists prefer a matte screen protector to simulate the drag of paper, which enhances control when executing long, sweeping ribbon curves. Additionally, because the brushes rely on pressure data, ensuring your iPad's accessibility settings for Apple Pencil sensitivity are calibrated to your personal drawing style can prevent unintended thick or thin lines.
A common challenge users face is managing the "intertwined lines" mentioned earlier. This occurs when the start and end points of separate strokes overlap incorrectly. To mitigate this, practice drawing continuous loops. If you must lift your pencil, plan your next stroke to begin exactly where the previous one ended, or use the undo feature swiftly to correct breaks in the flow. Another pro-tip involves layer management. Even though the brushes create shadows automatically, placing your ribbon layer above a background color layer and using a clipping mask for additional highlights can push the dimensionality even further. This hybrid approach combines the speed of the specialized brush with the flexibility of manual layer adjustments.
The Future of Specialized Digital Tools
The development of niche brushes like these signifies a broader trend in digital art: the move away from generic tools toward hyper-specialized instruments that solve specific problems. In the early days of digital painting, artists had to build their own brushes from scratch to achieve ribbon effects. Now, with Ribbon Brushes for Procreate, the barrier to entry is lower, allowing hobbyists and researchers alike to focus on composition and creativity rather than technical setup. This democratization of high-end effects empowers a wider range of voices to participate in the visual culture of hand lettering and illustration.
As the Procreate platform continues to evolve, we can expect these brushes to become even more responsive, potentially incorporating new parameters like tilt-based texture shifting or dynamic color blending. For now, the current iteration offers a robust solution for anyone looking to elevate their typographic work. Whether you are a seasoned graphic designer looking to speed up your workflow or a student learning the nuances of light and form, mastering these tools opens up a new avenue of expression. The key remains in the practice of steady hands and an understanding of how digital pressure translates to visual weight, proving that even in a virtual environment, the human touch remains the most critical component of great art.